Michael Gardi is a retired software engineer in Ontario, Canada. For the last several years, Mike’s been using his 3D printer to make reproductions of famous digital computer toys from the 1960s, particularly those manufactured by Education Science Research (E.S.R.). Mike also posts detailed instructions on how to make the devices on Instructables.
I’ve followed Mike’s work for years, and we’ve enjoyed conversing by email. Last week I thought it would be fun to call him and interview him for the newsletter, and he gratefully accepted. We talked about his interest in plastic mechanical digital computer toys and how he makes them. I hope you enjoy our conversation!
(This conversation has been lightly edited for clarity.)
Mark: Why are you interested in recreating classic computer-like educational devices and toys?
Michael: In 1965, I was 12 years old. And I got the Digi-Comp I from my parents as a Christmas present. And it was pretty much a perfect gift for a kid interested in computers, where computers of the day were mysterious and cost millions of dollars and lived in big rooms. It was a great gift. And I learned Boolean logic, and octal and hex notation systems, and a little bit of logical thinking. I'm not saying that was the only reason I ended up studying computer science and having a nice career writing software, but it was certainly a contributing factor.
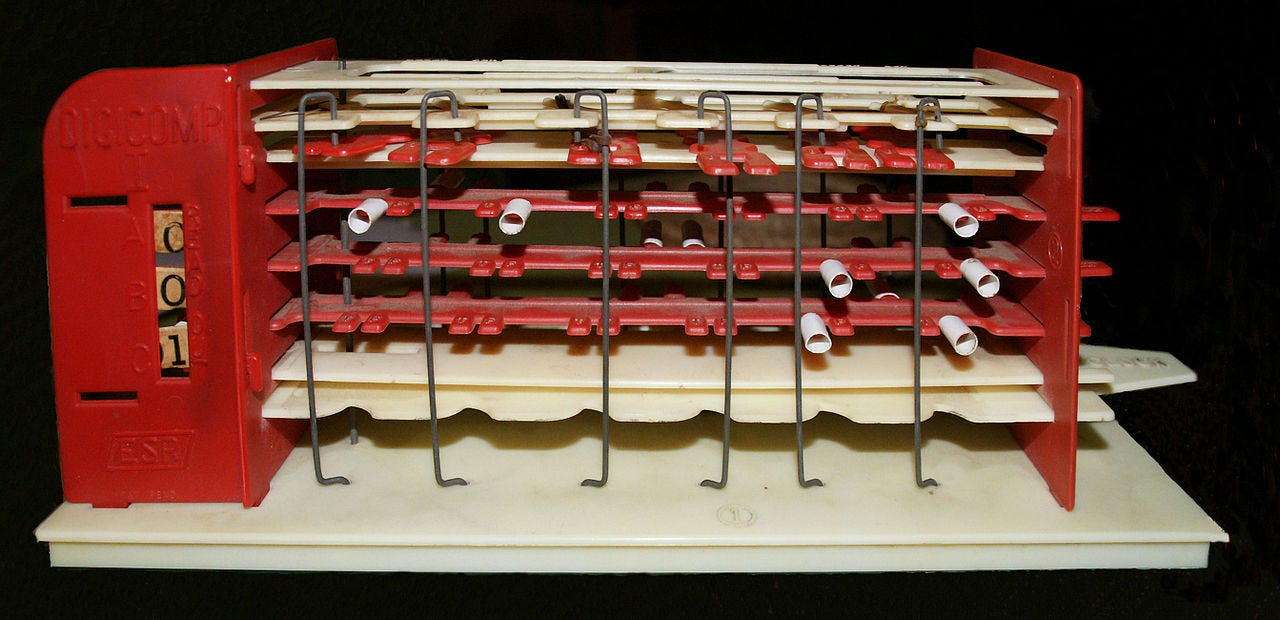
So, flash forward to the spring of 2018. I was thinking about getting a 3D printer. And while I was thinking about that, I discovered a group on Yahoo groups called “Friends of Digi-Comp.” It was people like me that had one of these little toy computers in the 60s. And, like me, for many of them, it affected their lives. They went on to have careers in engineering and computer science, and so on. One of the things I found in that group was that someone had modeled the Digi-Comp I. They created the STL files [the file format for computer-aided design models] for the Digi-Comp I [making it possible to make one with a 3D printer].
That’s not the only reason I bought a 3D printer, but it was a big reason. So after I printed a Benchy and a Whistle, I printed the Digi-Comp I reproduction, designed by Mark Ziemer. He did a wonderful job. In fact, he ended up having to put watermarks on it so that people wouldn’t sell them on eBay and make a profit.
Mark: So, for people who don’t know what the Digi-Comp is, describe it. It’s not electronic. But it’s digital?
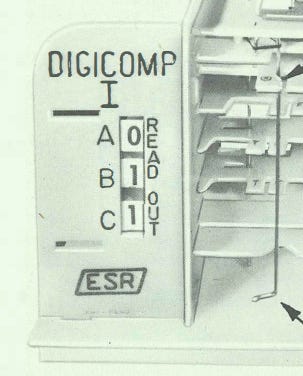
Mike: It’s completely mechanical. It has flip-flops that have two positions: 0 and 1. It has an array of wire rods that they call “logic rods.” And it has a clock mechanism, which will move the foot flops to the left or right. It’s actually programmable. You can make a count, and you can make it do binary addition and subtraction, and that sort of thing. It was quite a good teaching device. And like a lot of these early computers that I work on, it came with a really good instruction manual — lots of good description, exercises to do, real learning material, especially for a 12-year-old kid that wanted to learn about computers.
Mark: Do you still have the original Digi-Comp from when you were a kid?
Mike: Unfortunately, not. I’m not sure where it got lost. I’ve moved a number of times since then. I say it was lost to the ravages of time. But now I have a perfectly good replacement. So that made me really happy. And I realized once I had it together and had it working, it was a real connection with that 12-year-old me. I think a big reason was that I was employing three senses: touch, sound, and sight. It was being able to physically manipulate it and hear the flip-flops clicking as they went from one state to another. It was visceral. It was a pretty amazing feeling.
Mark: I see it has three numbers. What does that mean? Is it eight bits or three bits?
Mike: Three bits: 0 to 7. If you need to go past 7, you’re out of luck. I did make something called the Digi-Comp I Redux. It’s a machine with the same basic design, where I added a fourth flip flop so that you could count to 15.
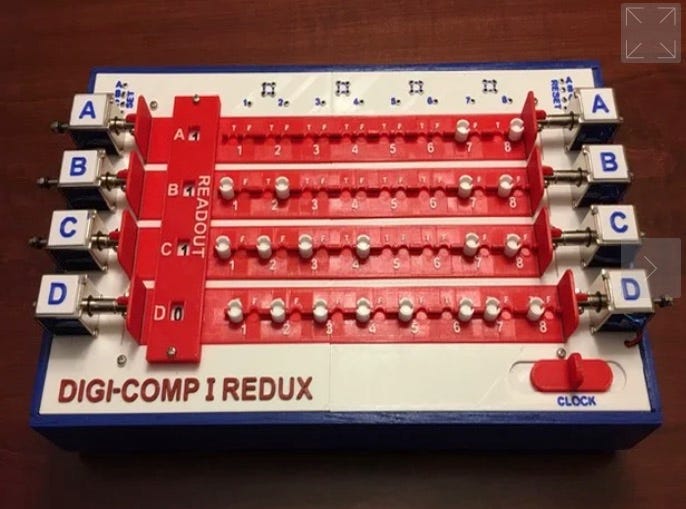
Mark: Since making that one, you’ve made a lot of different mechanical computer toys, and made the files available for anyone to download and print. Tell me about some of the others.
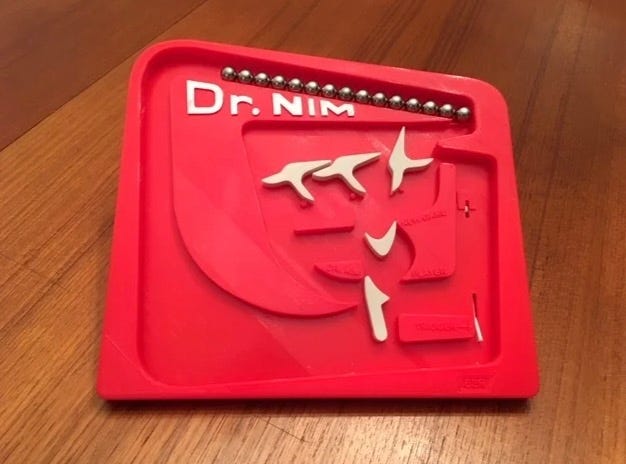
Mike: After I made the Digi-Comp I, I went online and learned that the company that made it, E.S.R., made three other very cool toy computers. One of them was The Amazing Dr. Nim, there was another one called Think-a-Dot, and the other was the Digi-Comp II. I couldn’t find digital files for them online. I thought, “Well, I’m gonna have to take matters into my own hands, I guess.” I'd never really done anything like that before, but I thought “Oh, you know, I'll try.”
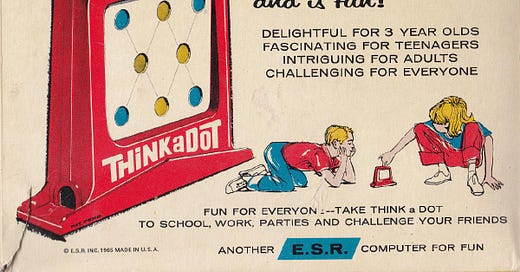
The first one I tackled was the Think-a-Dot. There are three holes in the top that you drop marbles through. And as they cascade through, it changes the dots from yellow to blue and vice versa. But it’s not clear what the mechanism is inside. There’s actually a university-level analysis of how this works and how to change the pattern from one specific state to another. I had an original Think-a-Dot. So, as far as putting it together and making it work, I was able to get a pair of digital calipers and measure things. So having the original really helped.
And I did the whole thing in TinkerCad because I didn’t have any experience with other 3D modeling packages. And TinkerCad is just so appealing. It’s such a cool application. It was a bit of a stretch for this because there are all these fillets, all these rounded edges, which is not a strong suit for TinkerCad. But I managed to get it done, and I posted it to Thingiverse. And, of course, I was very excited. And I was going in every day and looking at the number of views, to see what the take up was. And all of a sudden, the number of views took off. I was trying to figure out what was going on. And one of the reasons was that Adafruit, which has a weekly 3D printer podcast, included it as one of the “prints of the week" sort of thing. The other thing was that I got mentioned on Boing Boing. And I will quote, "someone has made a 3D model of the toy and uploaded it to Thingiverse. So you can 3D print your own." And that was you. And so that was the first time that we crossed paths.
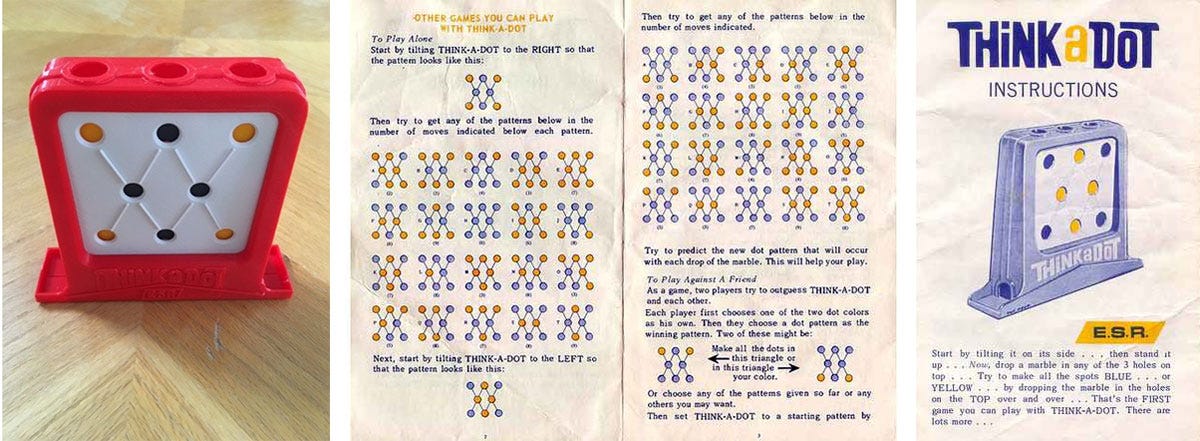
Mark: How did you manage to print the cool Think-A-Dot logo on it?
Mike: I took a picture of the logo from the original. I brought it into a vector drawing application called Inkscape, where I could trace the letters to end up with an SVG file with the outline of the font and the lines and the ESR logo.
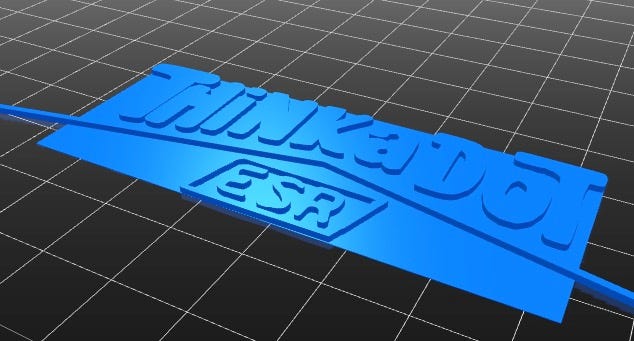
Mike: So then I brought that into Slic3r and just extruded the letters a little bit. And I printed a very, very thin first layer and then with the extruded letters on top, and then I was able to cut that out and glue it onto the front face. So it wasn’t printed directly on the front face. It was added after [with super glue].
Mark: What kind of 3D printer do you have?
Mike: I ended up getting the same one you have. The Prusa Mark 3. I have since upgraded it. I bought the upgrade kit, and I upgraded it to the 3S.
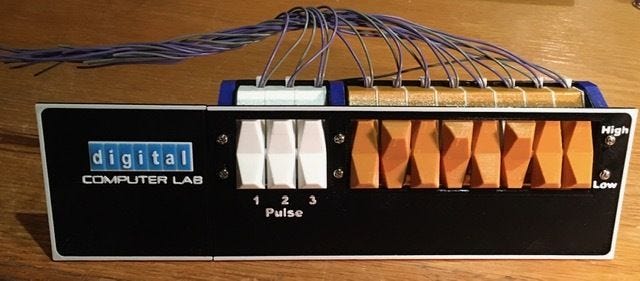
Mark: One of your builds I liked was the DEC H-500 Computer Lab reproduction. The rocker switches are so cool!
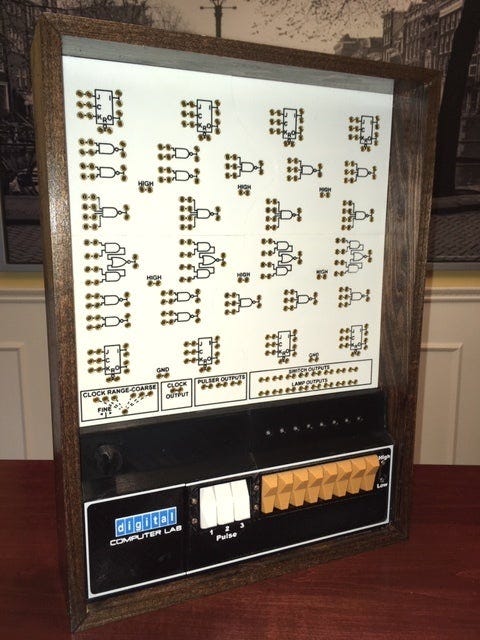
Mike: Yeah, that was a great build. That was the DEC H-500 Training Computer. And that was a straight reproduction. It was built one-to-one scale. I tend to call my things reproductions, as opposed to replicas because I tend to use modern construction techniques and modern materials. I try to make them as close as possible to the original look, but certainly, the materials that I use and the guts are not often authentic. That's the case with the H-500. I was super proud of the way the rocker switches turned out. In some sense, they’re not mechanical. I mean, they do pivot on an axis, but they're constructed with magnets and reed switches to get the electrical characteristics and the feel of the switch. So when you flick the rocker switch from one position to the next, you're disengaging it with one set of magnets and engaging with another set of magnets. But there’s a very satisfying click when that happens. It has a great feel. And that ties back to this whole tactile thing. Making physical things, you know, increases the experience or advances the experience.
Mark: Did you have a hard time finding that particular color of orange filament to print the rocker switches?
Mike: The butterscotch brown? I lucked out. That's a standard AMZ30 Light Brown. I got really lucky there.
Mark: One closing question, Mike. Do you have a particular project in mind that you want to tackle?
Mike: I knew you were gonna ask me that, of course. And I've been thinking about it. And the answer is no; I don't really have anything going on right now. I haven't really zeroed in on anything. I'm kind of playing around right now with flip dots. These are these mechanical displays, where they have the little dots that flip from back to white. I have this idea of making a really cheap flip dot display where I don't care about how long it takes for the display to update. A lot of these guys are going for displays that you can show video in real-time. And I'm going the opposite. I'm saying, "what if each dot was a purely mechanical two-state device that you can 3D print and would cost two or three cents?" And then you had actuators that would go in behind this display and flip them. So there would be many dots and a much smaller number of actuators. Because there’s an actuator on every dot in a fast flip dot display, and that gets expensive. In my case, it would be almost like an X-Z 3D printer where the extruder was the activator. And it would just go up and down the rows. Or maybe there'd be one for each row.
Mark: That's cool. I hope you do that!
Well, Mike, I want to thank you for taking some time to give me a glimpse into who you are and your interesting stuff.
Mike: Well, thank you for your support over the years.
CLOTHES
The Magnet mascot shirts
I’m selling Magnet mascot shirts in various styles. To keep the shirts mysterious, there are no other markings on them other than the mascot image.

